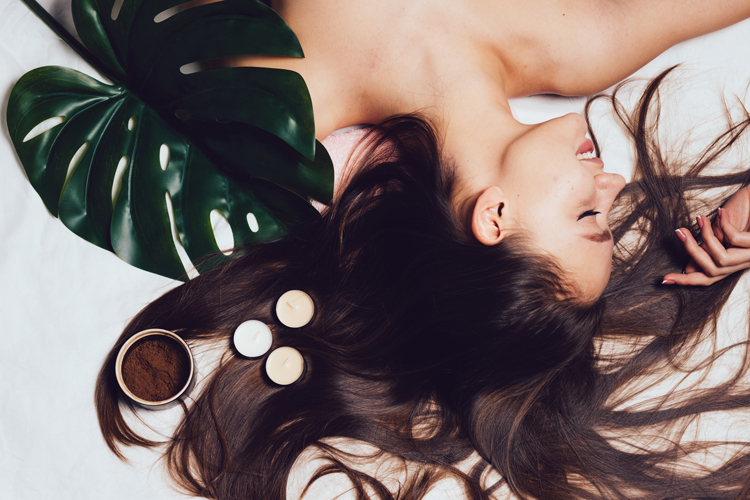
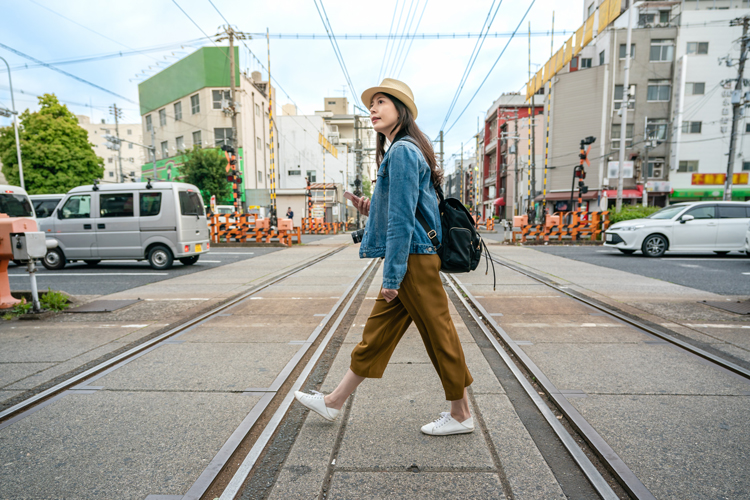
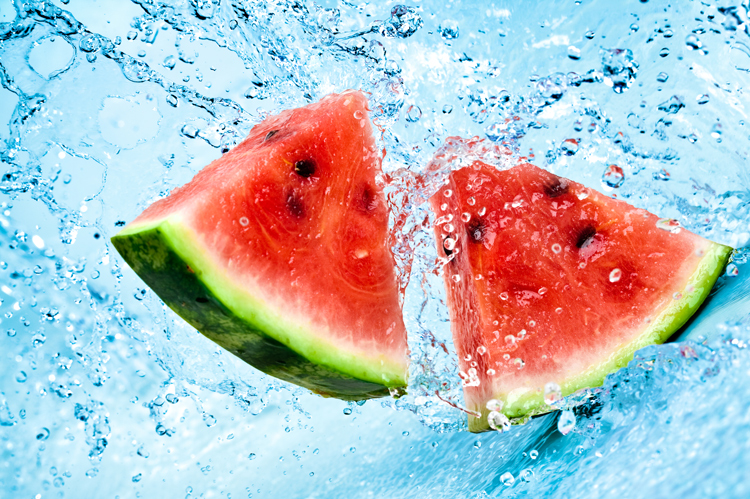
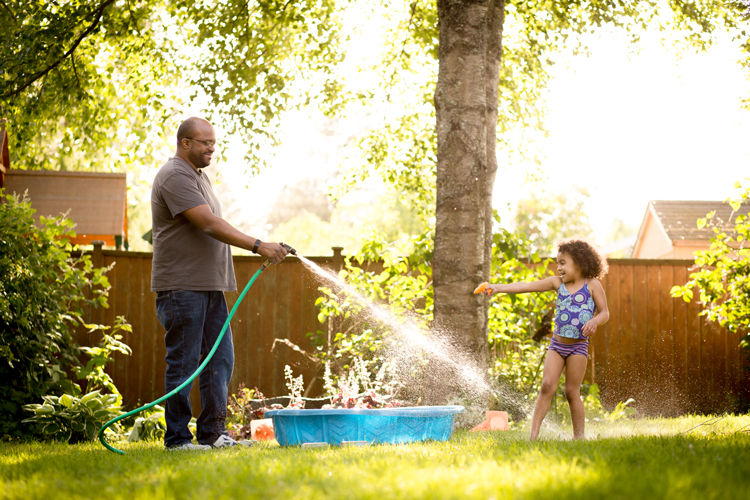
Want to get more out of your photography? Try these ten tried-and-true tips for preparing a successful photo shoot for stock.
Over the years, we’ve interviewed hundreds of inspiring stock photographers from around the globe, collecting their best tips and tricks for acing their shoots every time. But for this article, we wanted to delve even deeper into the behind-the-scenes process of creating outstanding imagery. With help from more than a dozen artists from the Shutterstock and Offset collections, we put together this start-to-finish guide for conceptualizing and planning a successful set of photos.
As the team over at Alliance Images told us, “If you want to get good photos, be ready to spend 90% of your time on preparation and only about 10% of your time on the session itself.” These ten steps are fundamental for the execution of almost any stock photo shoot, whether you’re in the studio or traveling the world. Think of this template as a launch pad for your work, and feel free to add your own steps as you go, depending on your specific needs.
Step 1: Research
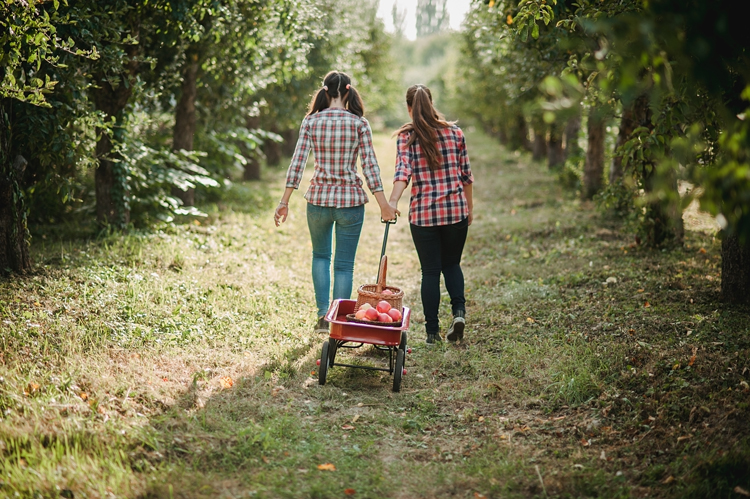
Image by nelen. Gear: Sony A7R camera, Sony FE 28-70mm f 3.5-5.6 lens. Settings: Focal length 70mm; exposure 1/125 sec; f6.3; ISO 100.
First and foremost, do your homework to see what kinds of images are in-demand. You can start by browsing the Shutterstock collection to see what’s out there; ask yourself, “What unique subject or perspective do I have to offer?” From there, be sure to check out the 2019 Creative Trends Reportto see what keywords image buyers are using in their searches. They’ve covered everything from aesthetic movements, like “’80s opulence” and “zine culture,” to subject matters like consumerism and “Kawaii.” You can also sign up for the Shutterstock newsletter to get timely trends delivered straight to your inbox.
Shutterstock contributor Anastasia Nelen stresses, “You need to be aware of the latest news and global trends.” Fellow photographer Natalia Lisovskaya does her research by looking at everything from social networks to blogs and even contests, while Natalia Serenko turns often to Instagram and Pinterest to see what’s in vogue. Similarly, Željko Dangubić looks at successful ad campaigns to see what major brands are looking for.
Step 2: Brainstorming
Image by PR Image Factory. Gear: Sony A9 camera, Sony FE 16-35mm F2.8 GM lens. Settings: Focal length 23mm; exposure 1/400 sec; f3.2; ISO 250.
Once you’ve gathered enough information on trends across advertising and other media, it’s time to start thinking about how you can incorporate them into your work. It helps to keep all your ideas in one place, especially if you work with other people. That way nothing gets lost in the cracks.
“We’ve created a folder called ‘ideas and research,’” the photographers at PR Image Factory tell us. “Anybody on our team will put in photos or videos that they’ve seen (from anywhere), and these files will be classified into three types: ‘seasonal,’ ‘holiday,’ and ‘anytime.’” With this ongoing collection of concepts for new shoots, it’s easy for PR Image Factory to maintain their ambitious schedule of shooting two to three days each week!
Step 3: Visualization
Image by Željko Dangubić. Gear: Canon EOS 5D Mark IV camera, Tamron 28-75mm 2.8 lens. Settings: Focal length 28mm; exposure 1/100 sec; f2.8; ISO 1600.
Once you’ve settled on a great idea, start thinking about how you plan to realize it. For example, Dangubić might draw his compositions in advance or even make a presentation in Adobe Spark. He also suggests holding onto these resources for later so you can show your models or other collaborators exactly what you’re looking for.
Come up with a mood board and/or a shot list, and don’t be afraid to get into the nitty-gritty details. “Preparing the storyboard is a must ,” the photographer Milan Ilic emphasizes. “The storyboard should be very detailed and should cover various angles, model poses, props, positions, etc.,” Write everything down, even if you think it’s minor.
Image by Andrey Armyagov. Gear: Canon 5D Mark II camera, Canon 100mm f/2.8 Macro lens. Settings: Focal length 100mm; 1/200 sec; f11; ISO 100.
“It is important to have a clear view and agenda before shooting, including sketches, storyboards, angles, etc.,” Shutterstock Contributor Andrey Armyagov says. “It saves time and gives the best results.” You can always experiment once you’re actually on set, but it helps to have a roadmap so you don’t get lost or distracted. The duo behind Twinsterphoto also plans out the keywords they’ll use in advance, and sometimes those keywords help to refine their concepts.
During the visualization process, try to think like an image buyer. “Focus on the client,” Lisovskayaadvises. “In the process of creating your portfolio, you need awareness of how and where the buyer can use your picture.” Refer back to your research, and, if necessary, gather new information about the subject you’ve chosen to cover.
Image by Twinsterphoto. Gear: Canon 6D camera, Sigma 50mm F1.4 lens. Settings: Exposure 1/250 sec; f2.2; ISO 800.
Step 4: Models
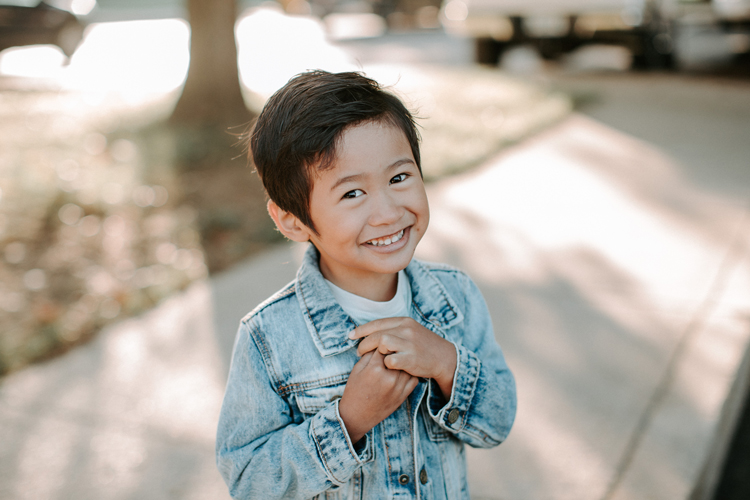
Image by Jennifer Bogle. Gear: Canon 5D MIII camera, 85mm 1.8 lens. Settings: Exposure 1/1000 sec; f2.8; ISO 500.
For non-editorial photos, you always need to have a model release, so keep these handy at all times if you plan on including people in your images. “I try to make model releases as painless as possible on the day of the shoot,” Offset photographer Jennifer Bogle explains. She’s got the process down pat. “I get all the required information ahead of time so I can show up with the form pre-filled out except for signatures and dates,” she continues. “In the case of families I photograph more frequently, I keep the family releases as a layered PSD file (one document for adults, one for children). I can turn the layers off and on for each family member and print them out as needed, just gathering a new signature.”
You don’t need to shell out tons of money to be able to work with great models, either. “Many participants sign a model release in exchange for additional photos,” Serenko explains. Try offering free prints or files for their portfolio.
Image by Serenko Natalia. Gear: Nikon d700 camera, Nikkor 85mm f/1.8 lens. Settings: Exposure 1/1250 sec; f1.8; ISO 320.
Build up a network of people you trust to help you create fantastic photos. Serenko also collaborates with people she knows, adding, “I have a lot of ideas and my friends are always ready to go with me to the ends of the world to implement them.” Your models don’t have to be professionals; in fact, Anastasia Nelen finds that working with people without modeling experience can yield especially natural and authentic photographs.
Step 5: Location
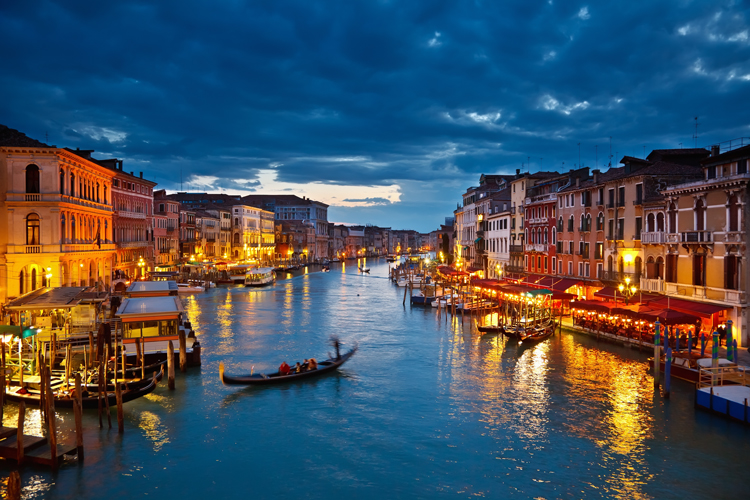
Image by S.Borisov. Gear: Canon 5D MarkII camera, Canon 24-105 f/4 lens. Settings: Focal length 28mm; exposure 1.4 sec; f5.6; ISO 400.
Many shoots take place inside the studio, but if you’re planning an outdoor shoot, you’ll want to go the extra mile, especially if it’s for a travel photography set. “When you are doing landscape or cityscape photography, you can’t control two major factors: the light and the weather,” the photographer S.Borisov explains. “This is why planning is absolutely crucial.”
If you’re working in an unknown location, a second “research” phase is necessary. “I try to get as much information about the place I am going to visit as possible,” Borisov continues. “First, I try to explore the place using a map (Google Maps sometimes does the job just perfectly, and its 3D feature is especially useful). Then I check the time of the sunrise/sunset and determine how the sun will travel across the sky at any particular time of the year. Finally, I try to map a route between my shooting locations, depending on the weather and local conditions.” With solid research in place, he can rack up three to four different locations in one day alone.
Step 6: Wardrobe
Image by Alessandro Biascioli. Gear: Sony RX100 III camera. Settings: Focal length 8.8mm; exposure 1/320 sec; f2.0; ISO 320.
Make sure to plan the outfits for your models well in advance so you aren’t missing anything on the day of your shoot. You can order clothes, shop thrift stores, or pull pieces from your own closet or your models’ personal collections. “We ask our models to bring a variety of clothing,” Alessandro Biascioli tells us. “Such variety can allow us to combine different colors, which is pivotal in stock photography.”
Image by Winnie Bruce. Gear: Canon 1dxii camera, 50mmL 1.2 lens. Settings: Exposure 1/800 sec; f2.0; ISO 400.
For stock, it’s also important to ensure that there are no visible logos whatsoever, so take that into account. “This was one of the things I had to get used to in the beginning because so many brands have subtle branding that I didn’t even think would matter, but then I spent so much time in post removing them,” Offset artist Winnie Bruce says. “I’ve gotten to know brands of clothing to recommend to clients and models that will make my post-processing work easy.” Bogle suggests checking out Primary Clothing and similar resources for clothing without tricky branding.
Step 7: Organization
Make a list of absolutely everything you need, from storyboards to model releases. You don’t want to be ordering props last minute. “My wife works with me on set,” Dangubić tells us. “She loves checklists and notes, so that’s the greatest tool for achieving everything we have planned.”
If you’re shooting on location rather than inside your own studio, organization is doubly important. “I check all my hardware before any trip: camera, lenses, filters, batteries, tripod, etc.” Borisovexplains. “Everything should be functional and ready. It’s always very disappointing to miss that perfect shot just because the memory card was full and you forgot to replace it with a new one.”
Step 8: Lighting
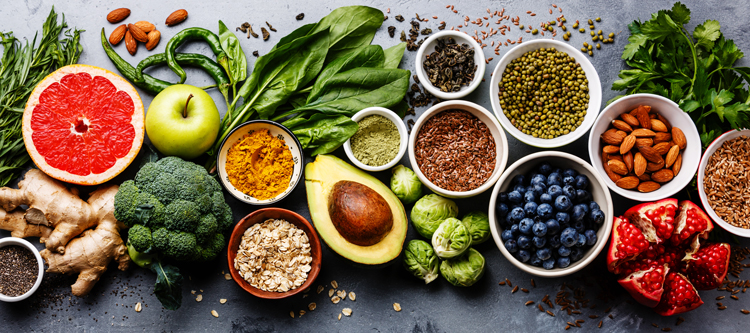
Image by Natalia Lisovskaya. Gear: Canon EOS 5D Mark III camera, EF 70-200 mm f/2.8L IS II USM lens. Settings: Focal length 70mm; exposure 1/125 sec; f10; ISO 100.
“When shooting in the studio with artificial lighting, most of my planning time is spent on the arrangement of the lighting,” Armyagov reveals. “Sometimes it can take up to 90% of the time of the entire session. It’s important to understand that proper lighting is the key success factor.” He advises against relying too much on post-processing; overdone photos will look fake and artificial, so be sure to get it right in the studio.
Lisovskaya, who works with food, also puts careful consideration into her setup. “The quality, quantity, and direction of the light play a major role in the creation of delicious pictures,” she tells us. “Learn how to see the light. The more errors you have in the composition and the lighting, the more processing will be necessary.”
Try your hand at different kinds of studio lights and reflectors. Practice incorporating natural and artificial light so that you have full control over the final image. At the same time, make sure you don’t go overboard with the lighting, or else the photos might end up looking unnatural and strange; Shutterstock Contributor TijanaM, for example, underscores the importance of staying true to “the natural atmosphere of the space.”
Image by TijanaM. Gear: Nikon D800 camera Nikkor 24-70mm f/2.8 lens. Settings: Focal length 36mm; exposure 1/200 sec; f3.2; ISO 160.
Step 9: On-Set
Image by Milan Ilic. Gear: Nikon d810 camera, Sigma 35mm art f.14 lens. Settings: Exposure 1/60 sec; f1.4; ISO 500.
When it comes to the shoot itself, time is of the essence. “Try to follow the storyboard,” Ilic advises. “I’ve come to the conclusion that I lose too much time when I go off the storyboard.” Still, it’s important to maintain a relaxed environment on-set and to leave room for improvisation. Don’t rush yourself or your models. “It is important to enjoy the shoot as much as you can,” Ilic continues. “This will encourage the models to be relaxed as well and to give their very best. As a result, you will have highly competitive material.”
Once you complete your shot list, stay open to surprises. “The day of the shoot, I try to shoot as much variety as possible with as little directing as possible,” Bogle says. When you think you have enough pictures, take even more. The unplanned, end-of-the-day moments can turn out to be the most successful photos of the session. “When a family is taking a break to wash hands, I get a few hand washing photos,” Bogle adds. “If a toddler decides to splash in the puddle and wreck their outfit, I photograph that.”
Step 10: Editing
Don’t let the editing process intimidate you; the photographers we interviewed have some great tricks for making it hassle-free. “I use a system of ranking with stars in Capture One,” Dangubićexplains. “One star is for technically okay, two for images with good composition, and so on. Five stars are images that are going to be submitted.”
For easy editing, consider making a preset in Lightroom, and don’t forget the crucial step of keywording your images. You can make presets for metadata just like you would for images! “Metadata presets can include information like model release files, names in the headline field, and basic keywords,” Bogle explains. “For each new family I photograph, I create presets for each individual and then each combination of people. They only take a few minutes to create and save a ton of time later on. Once my images are edited, I’ll apply metadata information using the painter or ‘spray can’ tool in the Lightroom Library module. Metadata used to be my least favorite part of the process but using presets makes it fairly painless.”
Top image by Milan Ilic.
View the orignal post - click banner below
Curated by Liquid Layer Networks
At Liquid Layer Web Hosting [LiquidLayer.net], we’ve made a shared web hosting platform that’s both feature-rich and easy to make use of. Our programmers have built up a custom Linux cloud web hosting platform plus an innovative Control Panel that perfectly takes advantage of its capabilities. After long hours of programming and bug fixing on our end, we are now capable to guarantee that all of our shared web hosting services are safe, virus-free, full of capabilities and very easy-to-work-with. In addition, they feature 99.9% server uptime as well as 99.9% network uptime warranties.
Powered by:
HostCheetah Networks
Global Web Hosting, Domain Registration, and Internet Services
https://hostcheetah.net | http://hostcheetah.uk
PC Helper | Est 1996 - Web Hosting | US, AU, UK, Finland, Bulgaria | ![]()
https://pchelper.com
