Posted on July 3, 2018 by Fortinet Technical Documentation

In this example, you provide a Security Assertion Markup Language (SAML) FSSO cloud authentication solution using FortiAuthenticator in conjunction with Google G Suite. The FortiAuthenticator acts as the authentication Service Provider (SP) and Google as the Identity Provider (IdP).
The FortiGate has a WAN IP address of 172.25.176.92 , and the FortiAuthenticator has the WAN IP address of 172.25.176.141 . This recipe uses DNS names and IP addresses that work in our test network. To get this or any authentication setup working for your network you must use IP addresses and host names that work for your network. Also, to avoid problems in the long run, it is a best practice to double check all names and IP addresses as you enter them.
Before you begin, on the FortiAuthenticator create a local user group and an SSO user group. These user groups must have identical names. In this example they are called saml_users .*
1. Configuring FSSO and SAML on the FortiAuthenticator
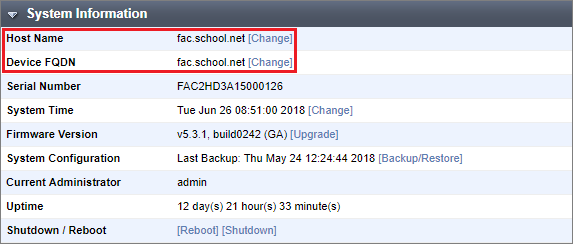
Identify where the FortiAuthenticator is in your organization’s DNS hierarchy. On the FortiAuthenticator go to System > Dashboard > Status . Change the Device FQDN to fac.school.net .
Enter the same name for the Host Name . 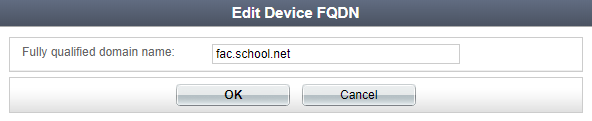
Configure the FortiAuthenticator as the FSSO server for the FortiGate. On the FortiAuthenticator go to Fortinet SSO Methods > SSO > General and set FortiGate SSO options. Make sure to Enable authentication .
Enter a Secret key and select OK to apply your changes. 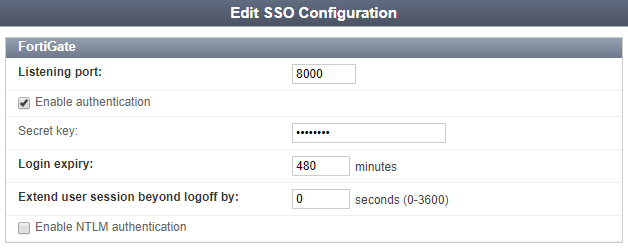
Then enable the SAML authentication portal. Go to Fortinet SSO Methods > SSO > SAML Authentication and select Enable SAML portal .
You will not yet be able to save the settings in this page, as other IdP information — IDP entity id , IDP single sign-on URL , and IDP certificate fingerprint — needs to be entered. These fields can be filled once the IdP application configuration is complete.
The FortiAuthenticator generates the following SAML portal URLs. You will add them to your IdP application configuration:
- Portal url – Captive Portal URL.
- Entity id
- ACS (login) url – Assertion POST URL used by the SAML IdP.
To determine user group membership, enable Text-based list under SAML assertions and enter Memberof (this field is case-sensitive). 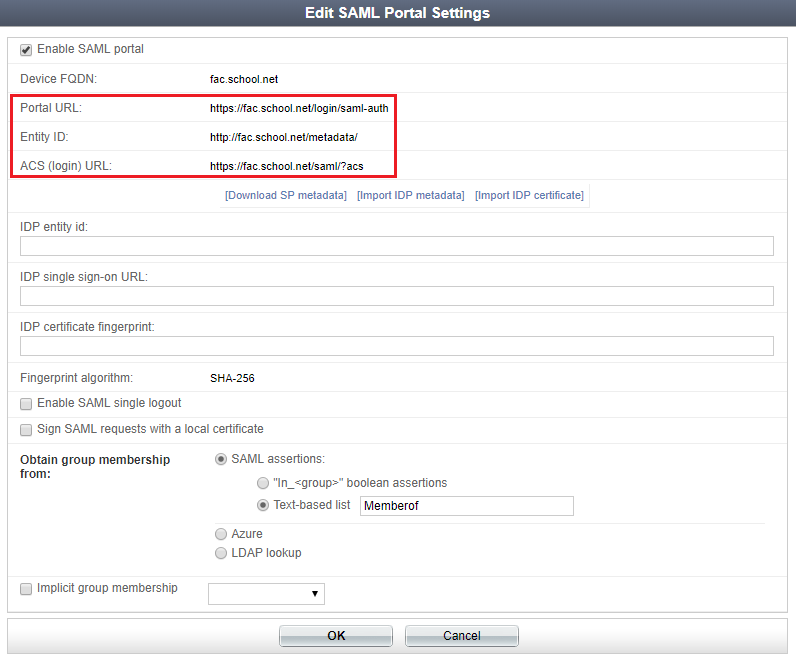
Keep the Edit SAML Portal Settings window open for reference when you are configuring the IdP application and for testing.
2. Configuring SAML on G Suite
To configure SAML, log in to your G Suite administrator account and select Apps from the Admin console .
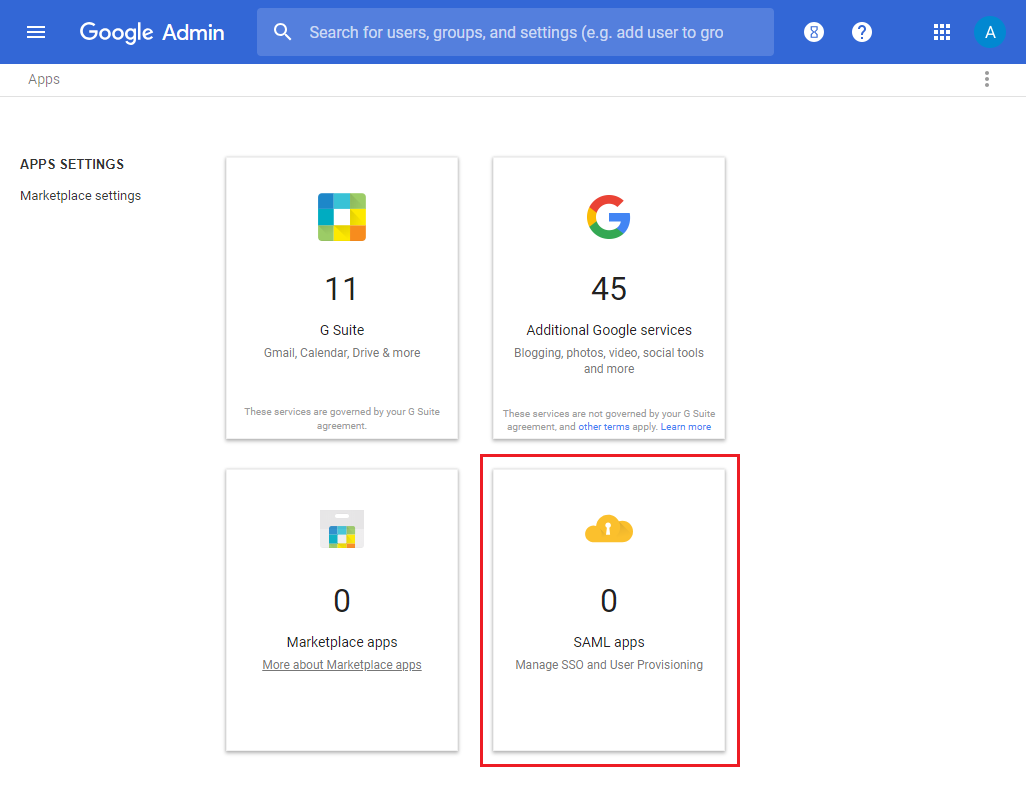
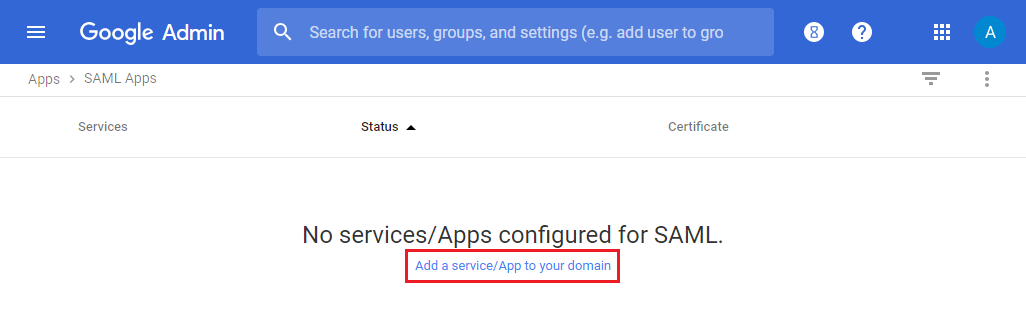
Then select SAML apps and select Add a service/App to your domain . 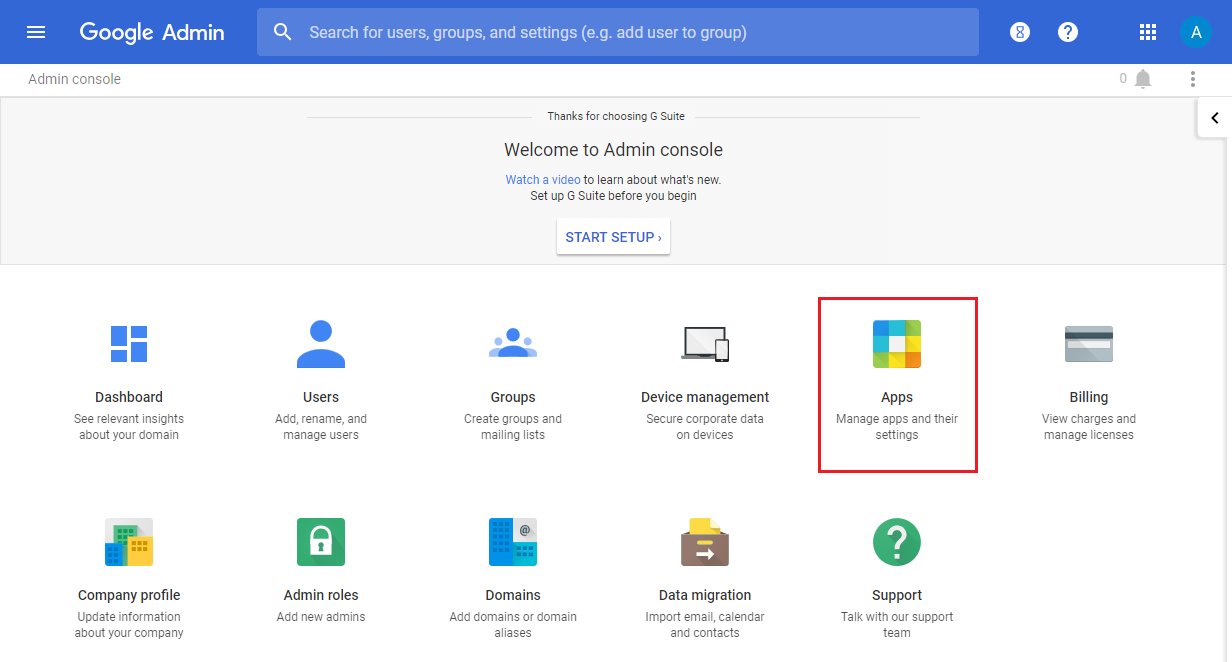
In the Enable SSO for SAML Application page, select to SETUP MY OWN CUSTOM APP . 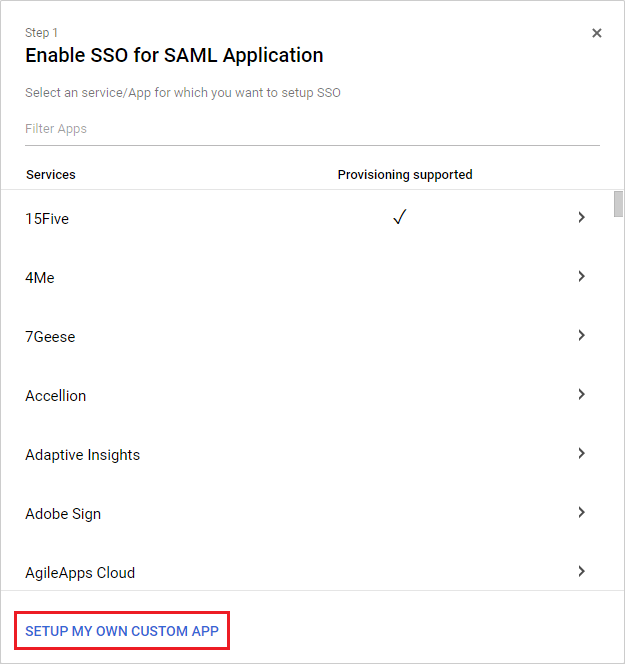
In the Google IdP Information page, download the Certificate and IDP metadata . Select Next . 
In the Basic information for your Custom App page, enter an Application Name , and optionally provide a Description and Upload logo . Select Next . 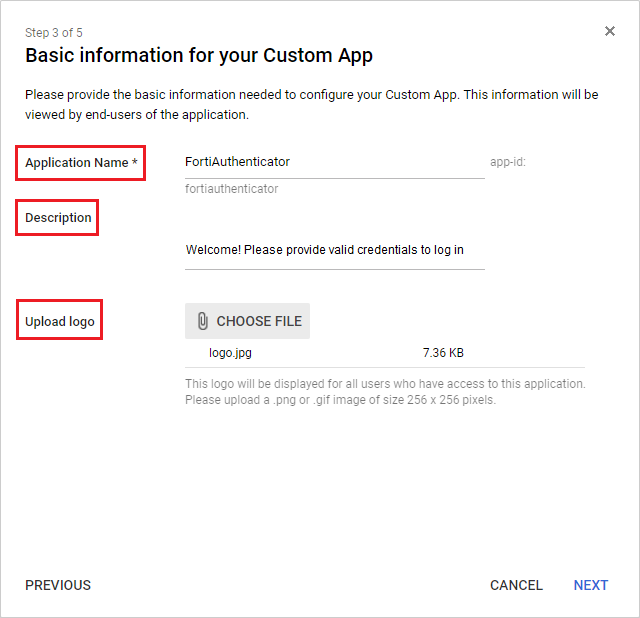
In the Service Provider Details page, set the ACS URL , Entity ID , and Start URL – these are the ACS (login) url , Entity id , and Portal url (respectively) from the FortiAuthenticator Edit SAML Portal Settings window. Select Next . 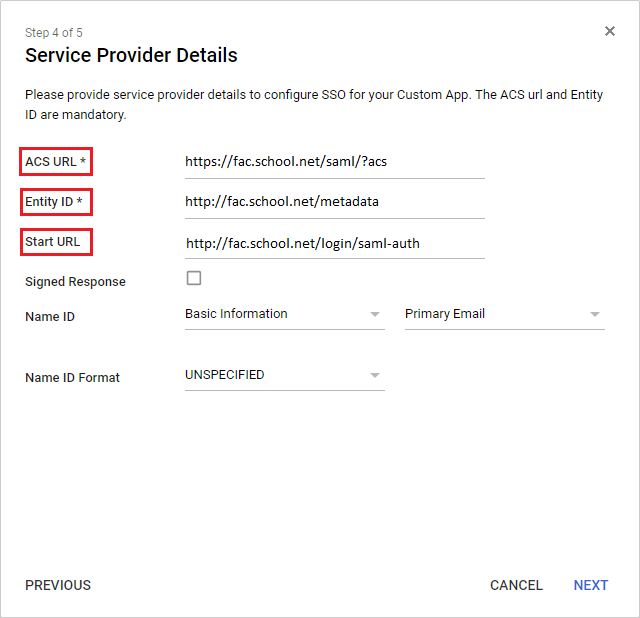
In the Attribute Mapping page, add the FirstName , LastName , Email , and Memberof user attributes.
The Department setting for Memberof must match the FortiAuthenticator saml_users group.
Select Finish . 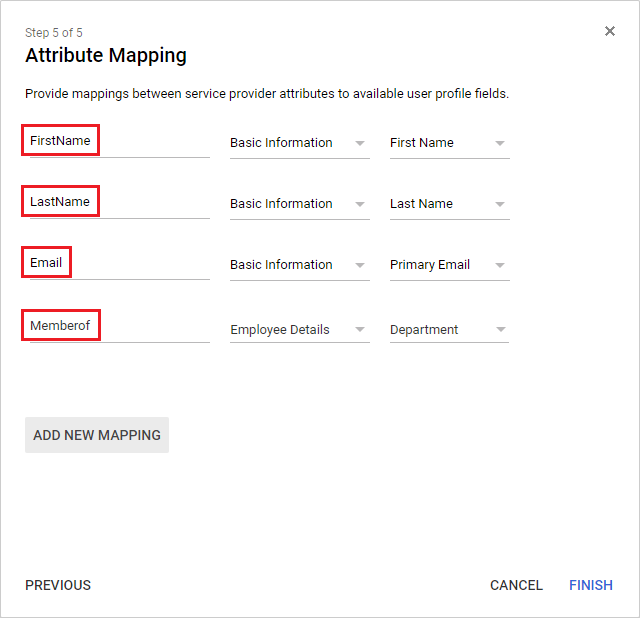
Finally, make sure the application is ON for everyone , and go to your user’s Account information and make sure that Employee details show as Department . Set Department to the same FortiAuthenticator saml_users user group name. 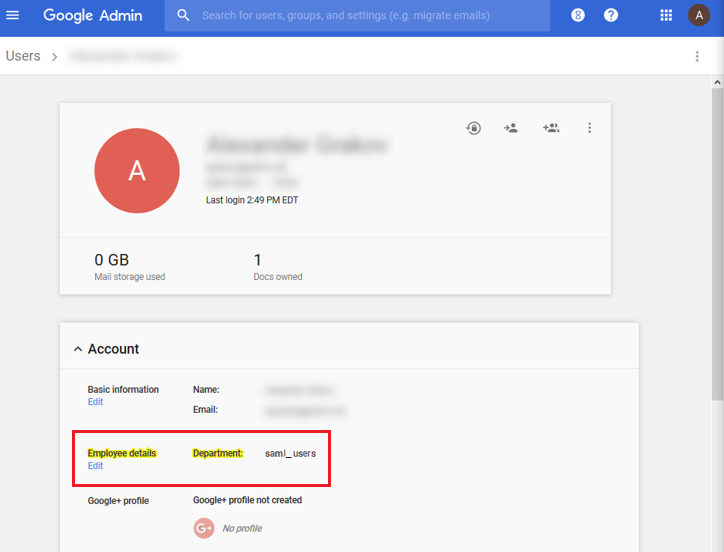
3. Importing the IdP certificate and metadata on the FortiAuthenticator
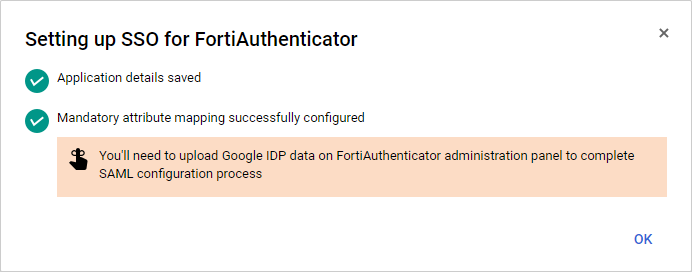
To import the Google IdP data, on the FortiAuthenticator, go to Fortinet SSO Methods > SSO > SAML Authentication and import the IdP metadata and certificate downloaded during the Google IdP Information step earlier.
This automatically fills the IdP fields. Make sure to select OK to save these changes. 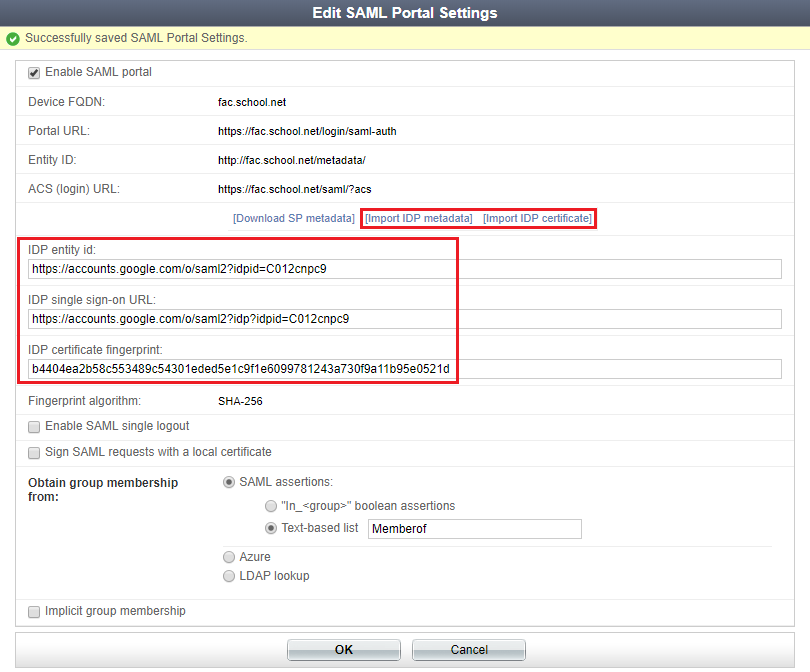
Create a new FortiGate filter for FSSO Push. Go to Fortinet SSO Methods > SSO > FortiGate Filtering and select Create New .
Enter a name and the FortiGate’s wan-interface IP address, and select OK .
After selecting OK , enable Fortinet Single Sign-On (FSSO) .
Select Create New to create an SSO group filtering object. The group filtering object name must once again match the original SAML group user name ( saml_users ).
Select OK to apply all changes. 
4. Configuring FSSO on the FortiGate
To configure FSSO on the FortiGate, go to Security Fabric > Fabric Connectors and select Create New .
Under SSO/Identity select Fortinet Single Sign-On Agent , enter a Name , the FortiAuthenticator’s Internet-interface IP address, and the password, which must match the secret key entered at the beginning of the FortiAuthenticator configuration process.
Select Apply & Refresh . 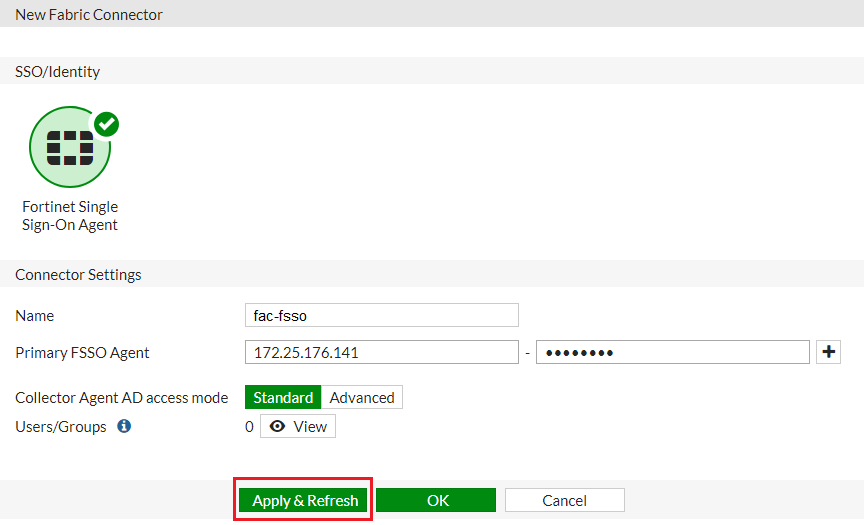
The SAML user group name has been successfully pushed to the FortiGate from the FortiAuthenticator, appearing when you select View .
You may have to wait a few minutes before the user group appears. 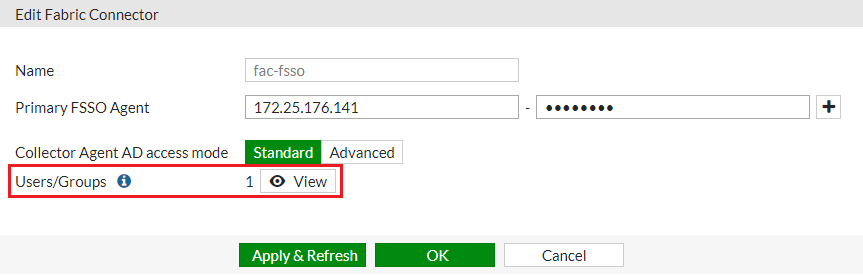
Once created, the server is listed. Mouse over the entry under the Users/Groups column and make sure that the FSSO group has been pushed down. 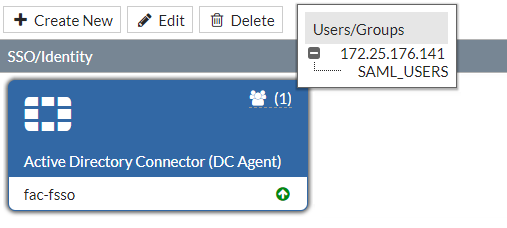
Then create a new FSSO user group. Go to User & Device > User Groups and select Create New .
Enter a Name , set Type to Fortinet Single Sign-On (FSSO) , and add the FSSO group as a Member . 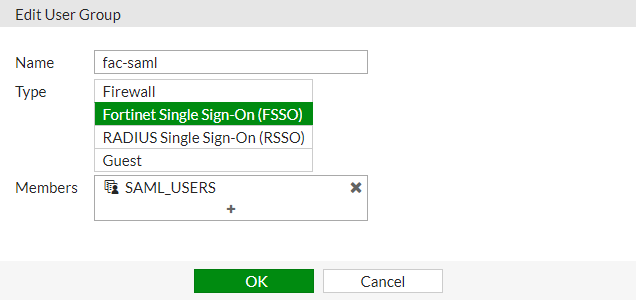
5. Configuring Captive Portal and security policies
On the FortiGate, go to Network > Interfaces and edit the internal interface.
Under Admission Control , set Security Mode to Captive Portal .
Set Authentication Portal to External , and enter the SAML authentication portal URL.*
Set User Access to Restricted to Groups , and set User Groups to any local group.* 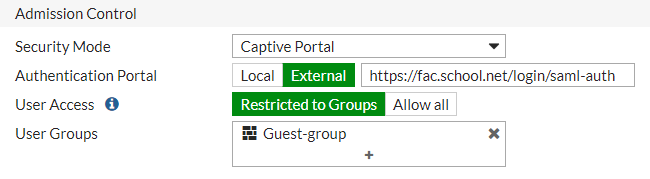
Add the FortiAuthenticator as an address object under Policy & Objects > Addresses . 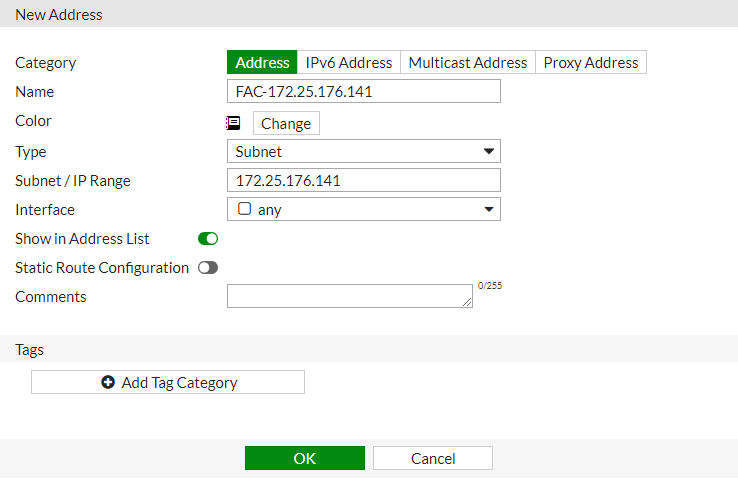
Then create the following FQDN objects:
Then add the following Google subnets:
- 172.217.9.0/24
- 216.58.192.0/19
Then create an address group, adding all created objects as members (in this example, g.suite-bypass ).
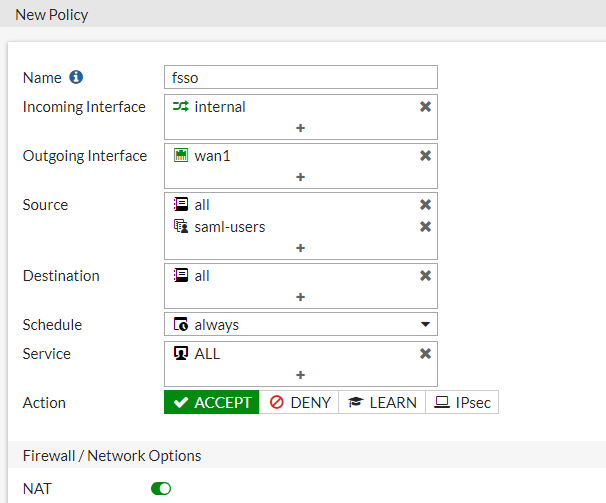
Create all policies shown in the examples under Policy & Objects > IPv4 Policy : one policy for DNS, for access from FortiAuthenticator, for G Suite bypass, and the last policy for FSSO, including the SAML user group. 
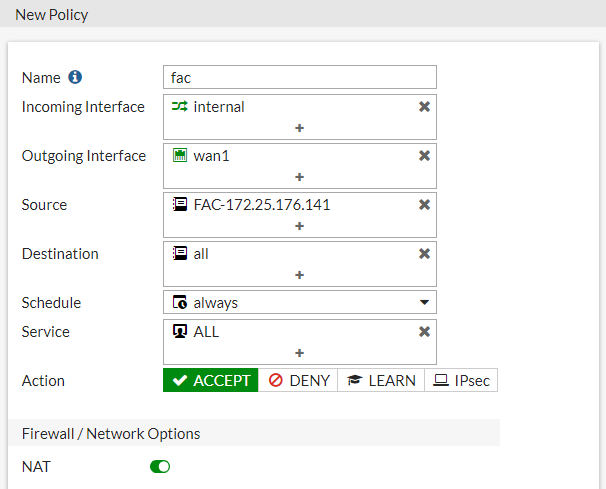
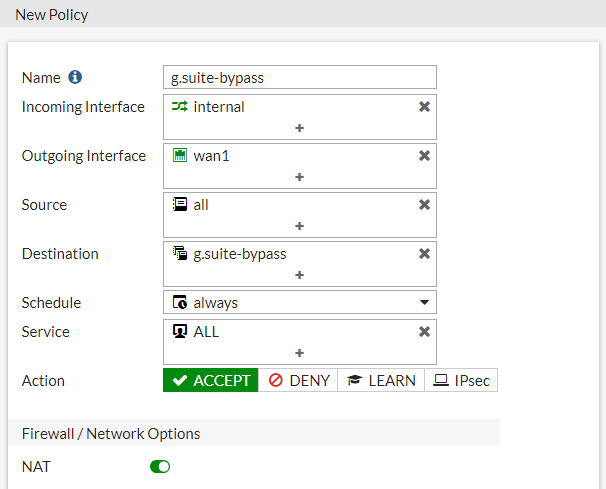
When finished, right-click the policies from the policy list, select Edit in CLI , and enter the following command for each policy except the FSSO policy:*
config firewall policy edit set captive-portal-exempt enable next end
This command exempts users of these policies from the captive portal interface.
Curated by Liquid Layer Networks
At Liquid Layer Web Hosting [LiquidLayer.net], we’ve made a shared web hosting platform that’s both feature-rich and easy to make use of. Our programmers have built up a custom Linux cloud web hosting platform plus an innovative Control Panel that perfectly takes advantage of its capabilities. After long hours of programming and bug fixing on our end, we are now capable to guarantee that all of our shared web hosting services are safe, virus-free, full of capabilities and very easy-to-work-with. In addition, they feature 99.9% server uptime as well as 99.9% network uptime warranties.
Powered by:

HostCheetah Networks
Global Web Hosting, Domain Registration, and Internet Services
https://hostcheetah.net | http://hostcheetah.uk
PC Helper | Est 1996 - Web Hosting | US, AU, UK, Finland, Bulgaria | ![]()
https://pchelper.com